Cold air rarely enters through one dramatic gap. It usually leaks through small cracks around sashes, door bottoms, letter plates, keyholes, loft hatches, and service penetrations. A 3 mm gap along the bottom of a 900 mm door can behave like a permanently open hole.
The U.S. Department of Energy says air sealing and insulation can reduce heating and cooling costs by about 15% in many homes. The UK Energy Saving Trust also identifies draught-proofing as one of the fastest low-disruption upgrades for older houses. The best results come from matching the seal to the gap, the surface, and how often the door or window moves.
Find the leaks before buying materials
Start on a windy day, or create pressure by turning on bathroom fans and a kitchen extractor. Move a lit incense stick around door frames, window joints, skirting edges, and floorboard gaps. If smoke pulls sideways, the joint leaks. Keep curtains, blinds, and interior doors in their normal positions while testing.
Measure the gap before choosing a product. Use coins, folded paper, or feeler gauges if you have them. A standard credit card is about 0.76 mm thick, which helps check narrow sash gaps. Many stick-on foam strips work best from 1 mm to 5 mm, while brush seals suit uneven gaps up to about 15 mm.
Check doors first
Inspect the door bottom, latch side, hinge side, and top rail. Daylight under the door means the threshold seal has failed or the door has dropped. A well-fitted external door should have an even reveal, usually around 2 mm to 4 mm along the sides and top. If the gap widens toward one corner, tighten hinge screws before adding seals.
Do not seal the underside of internal doors that serve rooms with open-flued gas appliances. Combustion appliances may need permanent ventilation. In the UK, Approved Document J covers combustion air requirements, while local fuel safety rules apply elsewhere. If a room has a boiler, stove, or gas fire, check the appliance manual before reducing airflow.
Check windows by type
Casement windows leak around opening sashes, espagnolette locks, and old compression gaskets. Sash windows leak at the meeting rail, staff bead, parting bead, and pulley pockets. Tilt-and-turn windows often leak when keeps have slipped or hinges need adjustment. Before sealing, clean the frame with sugar soap or isopropyl alcohol so adhesive strips grip properly.
For timber sash windows, test whether the sash still moves freely. Paint build-up can hold a sash slightly open and mimic a failed seal. On uPVC windows, check that the handle closes fully and pulls the sash tight against the gasket. If the handle stops before vertical or horizontal, adjust the keeps before adding any product — as the U.S. Department of Energy notes, weatherstripping only works on components that move properly.
Choose the right seal for each gap
The table below gives practical matches for common leaks. Use it for draft-proofing doors and windows when the frame is sound and the opening still operates correctly. Avoid stacking multiple seals in one joint because they can stop latches from engaging. If you must force the handle, the seal is too thick.
| Location | Best option | Gap range | Good fit when | Avoid when |
|---|---|---|---|---|
| Door bottom | Automatic drop seal or brush strip | 3 mm to 15 mm | Floor is uneven or threshold is worn | Door drags on carpet |
| Door frame | Self-adhesive foam or rubber strip | 1 mm to 6 mm | Gap is even and frame is clean | Paint is flaking |
| Letter plate | Internal letterbox brush and flap | 5 mm to 25 mm opening slot | Cold air comes through the flap | Mail already jams |
| Casement window | EPDM rubber seal | 2 mm to 5 mm | Sash closes squarely | Hinges are loose |
| Sash window | Brush pile in carrier | 3 mm to 8 mm | Sashes slide often | Ropes or balances are failing |
| Unused fireplace | Removable chimney balloon or draught excluder | Flue opening varies | Fireplace is decorative | Fire may be used |
Foam tape is cheap and quick, but it compresses within one or two heating seasons on busy doors. EPDM rubber lasts longer and handles repeated compression better. Brush pile works well where surfaces slide rather than press together. Silicone sealant belongs on fixed gaps, not on moving joints.
When a simple DIY seal is enough
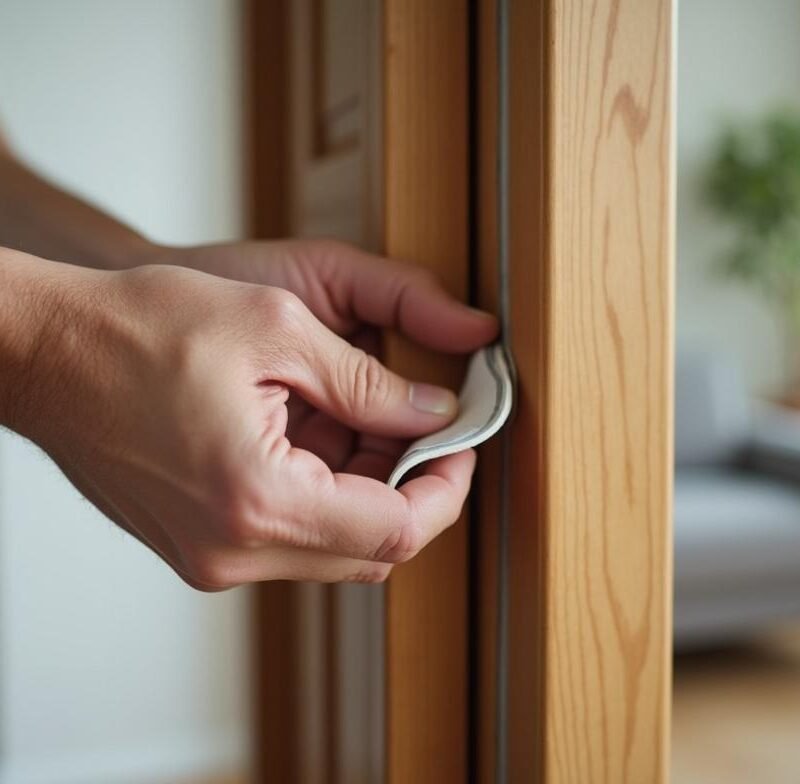
Use adhesive foam or rubber when the frame is straight, dry, and painted in sound condition. The best installation temperature is usually above 10°C, because cold adhesive bonds poorly. Cut strips with scissors rather than stretching them around corners. Press firmly for 30 seconds along each section.
A typical front door can take 30 to 60 minutes to seal. Clean first, let the surface dry, then apply the hinge side before the latch side. Close the door gently and check whether the latch clicks without pressure. If it needs a shove, remove the seal and choose a thinner profile.
Decide which option fits your situation
Choose temporary, low-cost products if you rent, plan to redecorate, or need a fix before winter. Removable foam, fabric draught snakes, and shrink film suit short timeframes. In the UK, a basic door sealing kit often costs £10 to £35, which makes it sensible before larger repairs. Ask permission before fixing anything to painted timber or uPVC in a rental.
Choose durable fitted seals when the door or window moves daily. External doors benefit from screw-fixed brush strips, automatic drop seals, and compression weatherstripping. Sash windows benefit from routed brush carriers if the timber is worth preserving. These options need more care, but they survive cleaning, pets, and repeated opening.
Choose repair before sealing when the frame is distorted, rotten, swollen, or loose. A seal cannot fix a dropped door, failed hinge, broken sash cord, or cracked window gasket. If you see black staining, soft timber, or condensation trapped between double-glazed panes, solve the defect first. Sealing over damp timber can trap moisture and speed decay.
When to call a professional
Call a joiner or window specialist if the gap exceeds 10 mm along one side of a door or window. That usually points to movement, hinge wear, or poor installation. For sash windows, professional overhaul can include new cords, parting beads, staff beads, and brush seals. This is useful when the sashes rattle, jam, or drop suddenly.
For listed buildings or conservation areas, check local rules before changing visible external details. Historic England advises retaining breathable materials and original joinery where practical. Routed brush seals can reduce air leakage while keeping traditional timber sashes. Avoid plastic trims that alter sightlines on protected façades.
Install seals without causing new problems
Cut seals slightly long, then trim after fitting. Corners shrink when pulled tight, which leaves small leaks at the places that need the best contact. On doors, start at the top corner and work down with light pressure. Keep the adhesive backing folded away so it does not stick ahead of your line.
Test every moving part immediately. Lock the door, lift the handle, open the window, and check trickle vents. The British Standard BS 5250 gives guidance on managing moisture in buildings, and ventilation remains part of that balance. Sealing random cracks should not mean blocking designed vents.
Watch ventilation and moisture
Draughts and ventilation are not the same thing. Draughts are uncontrolled leaks through cracks. Ventilation is deliberate air exchange through vents, fans, or openable windows. Keep trickle vents open in bedrooms if condensation forms on glass by morning.
After sealing, track indoor humidity for two weeks with a small hygrometer. Aim for roughly 40% to 60% relative humidity during winter. If humidity stays above 65%, use extractor fans longer after cooking and bathing. Wipe visible condensation from sills, especially on timber frames.
Common mistakes that reduce performance
Many failures come from dirty surfaces. Dust, wax, old adhesive, and flaking paint stop seals from bonding. Clean the area, sand rough paint edges, and let timber dry before fitting anything. Do not apply adhesive strips to damp frames after rain.
Another mistake is buying the thickest seal available. A thick seal can twist hinges, strain handles, and prevent multipoint locks from engaging. Most uPVC doors need adjustment at the hinges or keeps before new seals. If the handle feels stiff after sealing, do not keep forcing it.
People also forget hidden leaks. Loft hatches, pipe penetrations, recessed lights under cold lofts, and suspended timber floors can move large amounts of air. Seal service gaps with appropriate acrylic sealant, grommets, or fire-rated products where regulations require them. Around cables, boilers, and flues, keep to manufacturer clearances and local code.