Patios provide a great space for relaxation and entertainment. One of the best ways to enhance the look of your patio is by staining the concrete. Stained concrete patios are not only beautiful, but they are also durable and easy to maintain.
In this guide, we’ll cover everything you need to know about designing a beautiful stained concrete patio.
Understanding Stained Concrete
Stained concrete is a popular choice for patios because it offers a wide range of design options.
Acid-Based Stains
Acid-based stains react with the minerals in the concrete to create a unique, marbled look. These stains are usually available in earthy tones like browns, greens, and blues. The color produced by acid-based stains is permanent and can withstand heavy traffic and harsh weather.
Water-Based Stains
Water-based stains offer a broader range of colors compared to acid-based stains. They don’t react chemically with the concrete but rather create a colored film on the surface. These stains are ideal for those looking for bright, vibrant colors.
Though slightly less durable than acid-based stains, water-based stains are easier to apply and safer to use.
Planning Your Patio Design
Before you start staining your patio, it’s essential to have a clear design plan. Here are some steps to help you plan.
Assess Your Space
First, measure the area of your patio. Determine the overall size and shape to help you visualize the design. Consider any existing landscaping and how it will complement your stained patio.
Choose Your Colors
The color of your stained concrete patio will set the tone for your entire outdoor space. Choose colors that complement your home’s exterior and existing landscape. You can opt for a single color or combine several colors for a more intricate design.
Select a Pattern
Adding patterns to your stained concrete patio can elevate the design. Popular patterns include geometric shapes, natural stone textures, and custom designs. Stencils and stamps can help you achieve these patterns with ease.
Gather Materials
Make a list of all the materials you’ll need for the project. This will likely include:
- concrete cleaner and degreaser
- concrete stain (acid-based or water-based)
- paint rollers and brushes
- stencils or stamps (if creating a pattern)
- protective gear (gloves, goggles, masks)
- sealer
Preparing The Concrete Surface
Proper preparation is key to achieving a beautiful and long-lasting stained concrete patio. If you need concrete finishing, it is best to contact a professional. Follow these steps to ensure your surface is ready.
Clean the Surface
Remove any dirt, debris, and stains from the concrete. Use a concrete cleaner or degreaser for tough stains. Power washing can also be effective in ensuring a clean surface.
Repair Cracks and Holes
Inspect the concrete for any cracks and repair them using a concrete patching compound. This step is crucial to creating a smooth and even surface for staining.
Etch the Concrete
Etching the concrete opens up the pores, allowing the stain to penetrate better. Use a concrete etching solution and follow the manufacturer’s instructions for application.
Allow the Concrete to Dry
After cleaning and etching, allow the concrete to dry thoroughly. This can take anywhere from 24 to 48 hours, depending on weather conditions.
Staining the Concrete
With your design plan in place and the surface prepped, it’s time to apply the stain.
Test the Stain
Before applying the stain to the entire surface, test it on a small, inconspicuous area. This will help you ensure the color is right and that there are no adverse reactions.
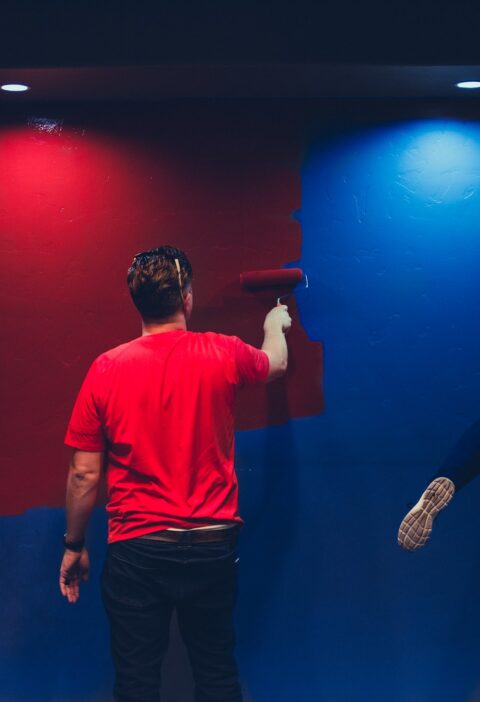
Apply the Stain
Pour the stain into a paint tray and use a roller or brush to apply it to the concrete. Work in small sections and apply the stain evenly. If you’re using multiple colors, apply them one at a time, allowing the first color to dry before adding the next.
Create Patterns
If you’ve chosen to add patterns, now is the time to do so. Use stencils or stamps to create your desired design. Be sure to follow the manufacturer’s instructions for the best results.
Allow the Stain to Dry
Once the stain is applied, allow it to dry completely. This can take anywhere from 24 to 48 hours, depending on the type of stain and weather conditions.
Sealing the Stained Concrete
Sealing your stained concrete patio is crucial for protecting the color and extending its lifespan. Here are the steps to seal your patio.
Choose a Sealer
Select a sealer that is compatible with your chosen stain. There are several types of sealers, including acrylic, epoxy, and polyurethane. Each type offers different levels of durability and sheen.
Apply the Sealer
Pour the sealer into a paint tray and use a roller or brush to apply it to the concrete. Work in small sections and apply the sealer evenly. For best results, apply two to three coats, allowing each coat to dry before applying the next.
Allow the Sealer to Cure
After applying the final coat, allow the sealer to cure completely. This can take up to 72 hours. During this time, avoid walking on the patio or placing any furniture on it.
Maintaining Your Stained Concrete Patio
Stained concrete patios are low-maintenance, but they still require some care to keep them looking their best. Follow these tips for maintaining your patio:
Regular Cleaning
Sweep your patio regularly to remove dirt and debris. For tougher stains, use a mild soap and water solution. Avoid using harsh chemicals, as they can damage the stain and sealer.
Reapply Sealer
To keep your stained concrete patio looking fresh, reapply the sealer every two to three years. This will help protect the color and extend the life of the stain.
Address Repairs Promptly
If you notice any cracks or damage, address them promptly. Repairing minor issues early can prevent them from becoming more significant problems.
Crafting the Perfect Stained Concrete Patio
Designing a beautiful stained concrete patio can transform your outdoor space into a stunning retreat. By following this guide, you’ll have all the information you need to create a durable and visually appealing patio that will last for years to come.
Enjoy your new outdoor oasis!
For more on this topic, feel free to visit the rest of our blog!